3D-printed replacement parts
When Hobie stopped making the masthead fitting, the only options were a donor mast or making one. This is the making-one option: a fitting modeled from a measured mast section, with test gauges so you can check fit before a 35-hour print.
The masthead fitting
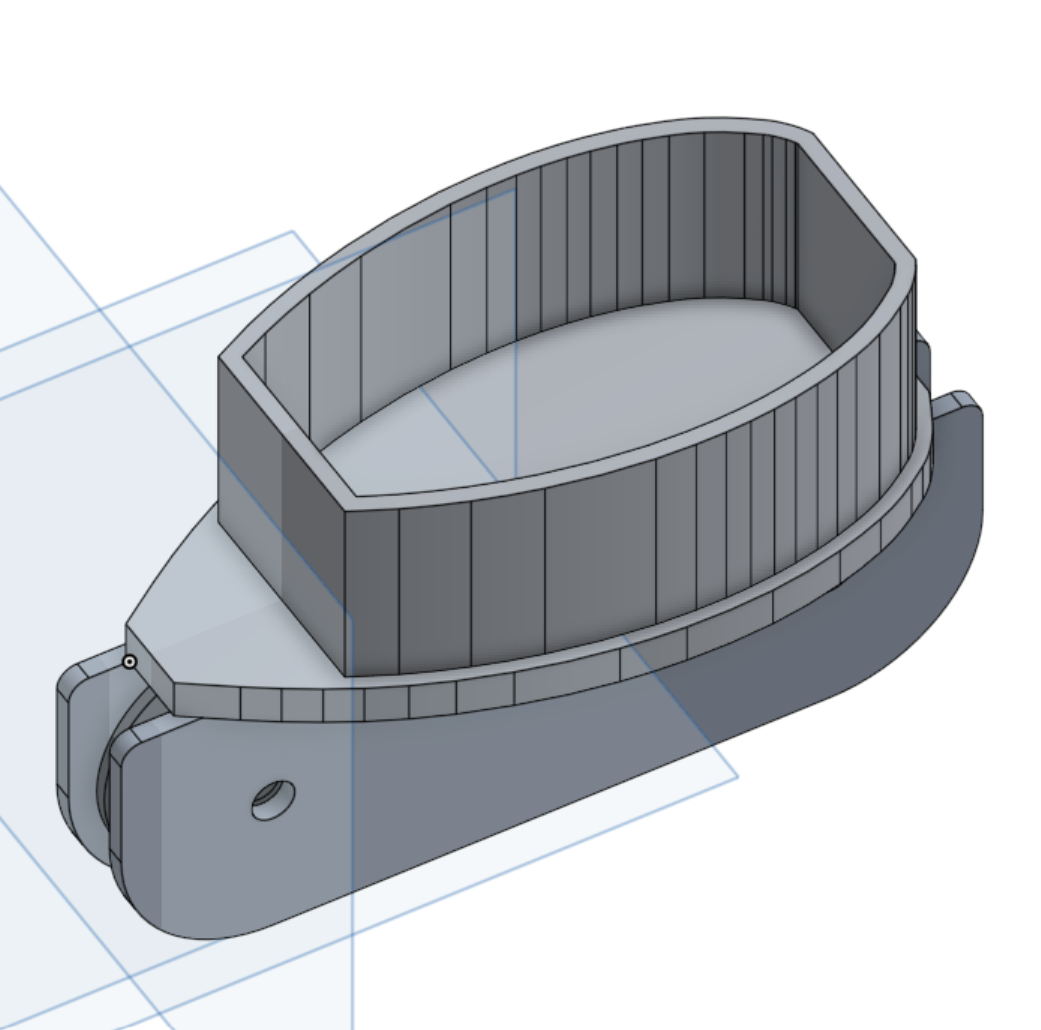
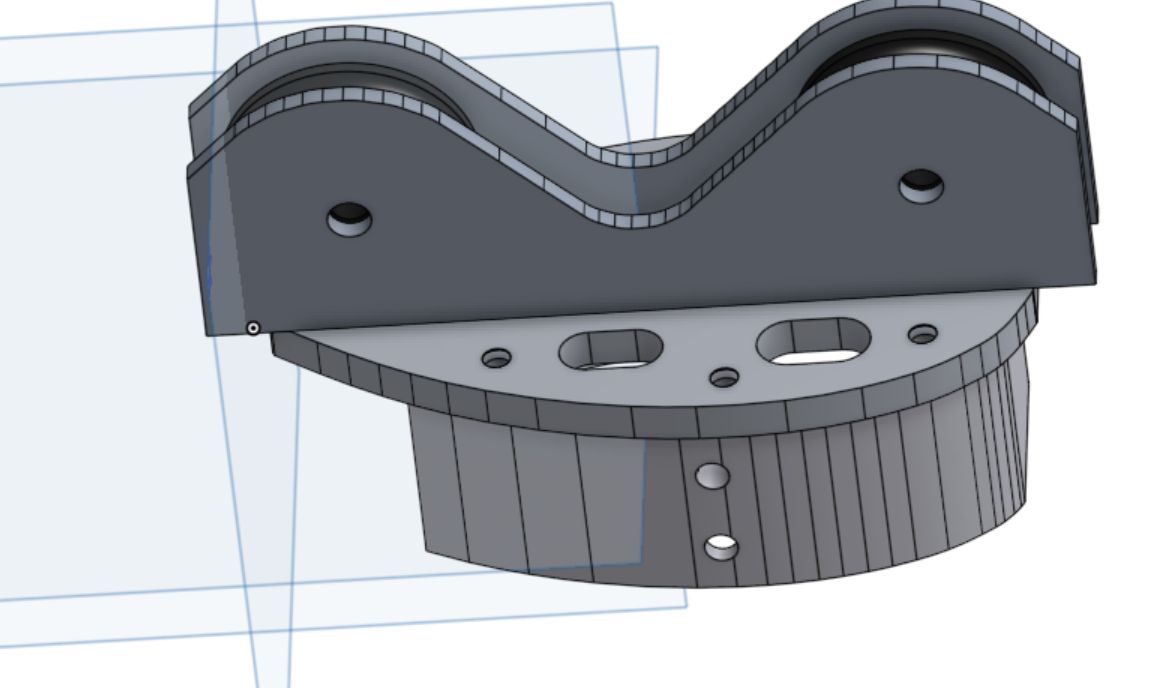
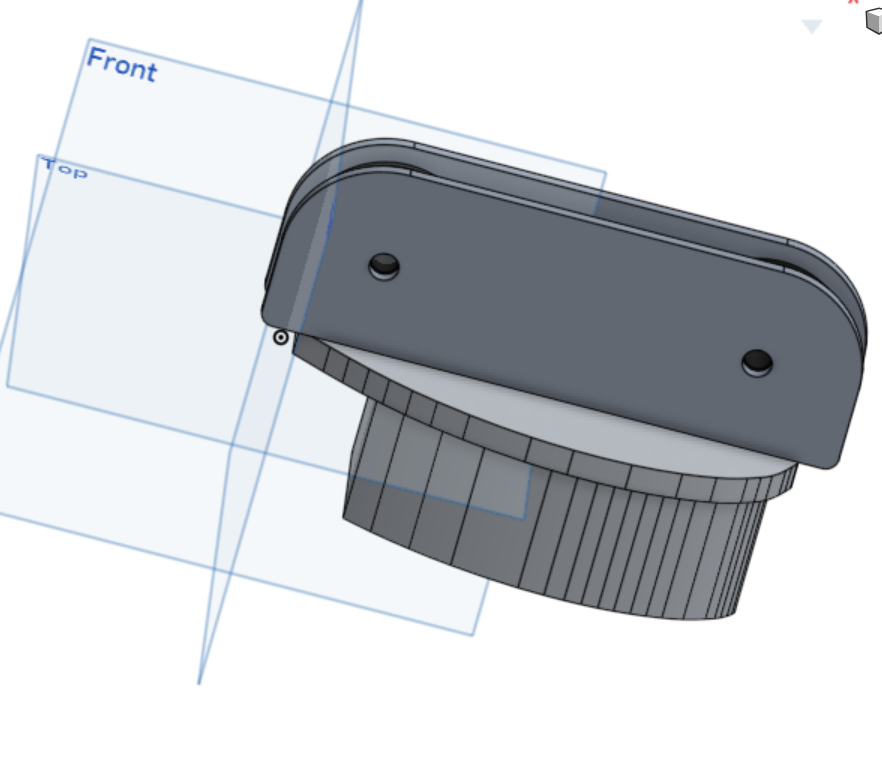
How to use these files
- Print a fit gauge first. It is a 29 mm slice of the plug. Push it into the top of your mast. It should seat with hand pressure and no rocking. If it is tight, re-slice the 3MF with a larger clearance offset; if it is loose, a smaller one.
- Check your sheave pins and rivet holes against the old fitting if you have one, or against the mast assembly drawing on the Mast page.
- Print the full part. The supplied G-code is for an Ender-3 V2 Neo; for anything else, open the 3MF and slice it yourself.
- Bed it in. Dry-fit, then set it with marine sealant and rivet or bolt through the existing holes.
Print settings
| Slicer | OrcaSlicer 2.3.1 |
|---|---|
| Printer | Creality Ender-3 V2 Neo (220 x 220 mm bed) |
| Material | PLA, 1.75 mm |
| Nozzle | 0.4 mm |
| Layer height | 0.12 mm |
| Fit gauge | 29 mm tall, 241 layers, about 50 g, about 8 h |
| Full masthead fitting | 105 mm tall, 874 layers, about 152 g, about 35 h |
Material matters. The supplied files are sliced for PLA because that is what the prototypes were made from. PLA softens in a hot car and chalks in sunlight. For a part that lives at the top of a mast, print the final in PETG, ASA or nylon, or send the model out for SLS nylon or metal. Treat the whole thing as a prototype until you have sailed on it and inspected it.
Files
OrcaSlicer project for the mast fit gauge with a 0.6 mm clearance offset. Open this to re-slice for your own printer.
Sliced fit gauge, 29 mm tall, about 8 h print. Prints a short ring of the mast profile so you can check fit on your extrusion before committing to the full part.
An alternate fit-gauge iteration, same height and print time as the 8 mm gauge.
The full masthead fitting, 105 mm tall, 874 layers, about 35 h print on an Ender-3 V2 Neo. Large file (77 MB).
Made something? Wing end caps, hatch handles, rudder cams, Cat Cabin latches: if you have modeled a 21 part, send the files and a photo and it will go up here with credit.